The quick answer
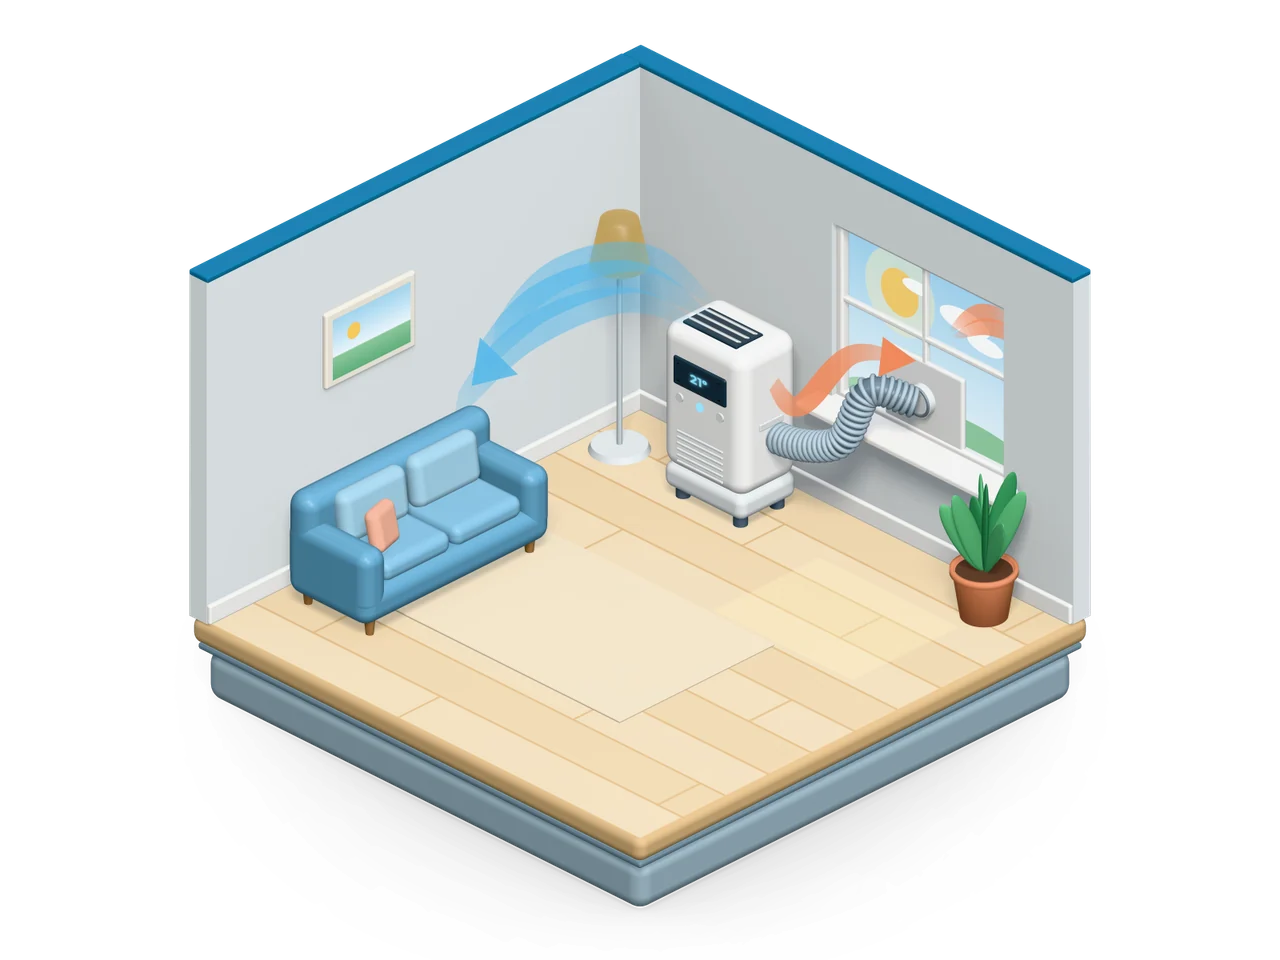
A portable air conditioner works well with a sash window once the gap around the hose is sealed. Raise the lower sash by a few inches, fill the opening with a rigid panel or fabric kit, seal the edges with foam strip and secure the window so it cannot be pushed open further. The panel costs from £15 for a zip kit to about £10 of foam board for a DIY version.
Why sash windows are awkward
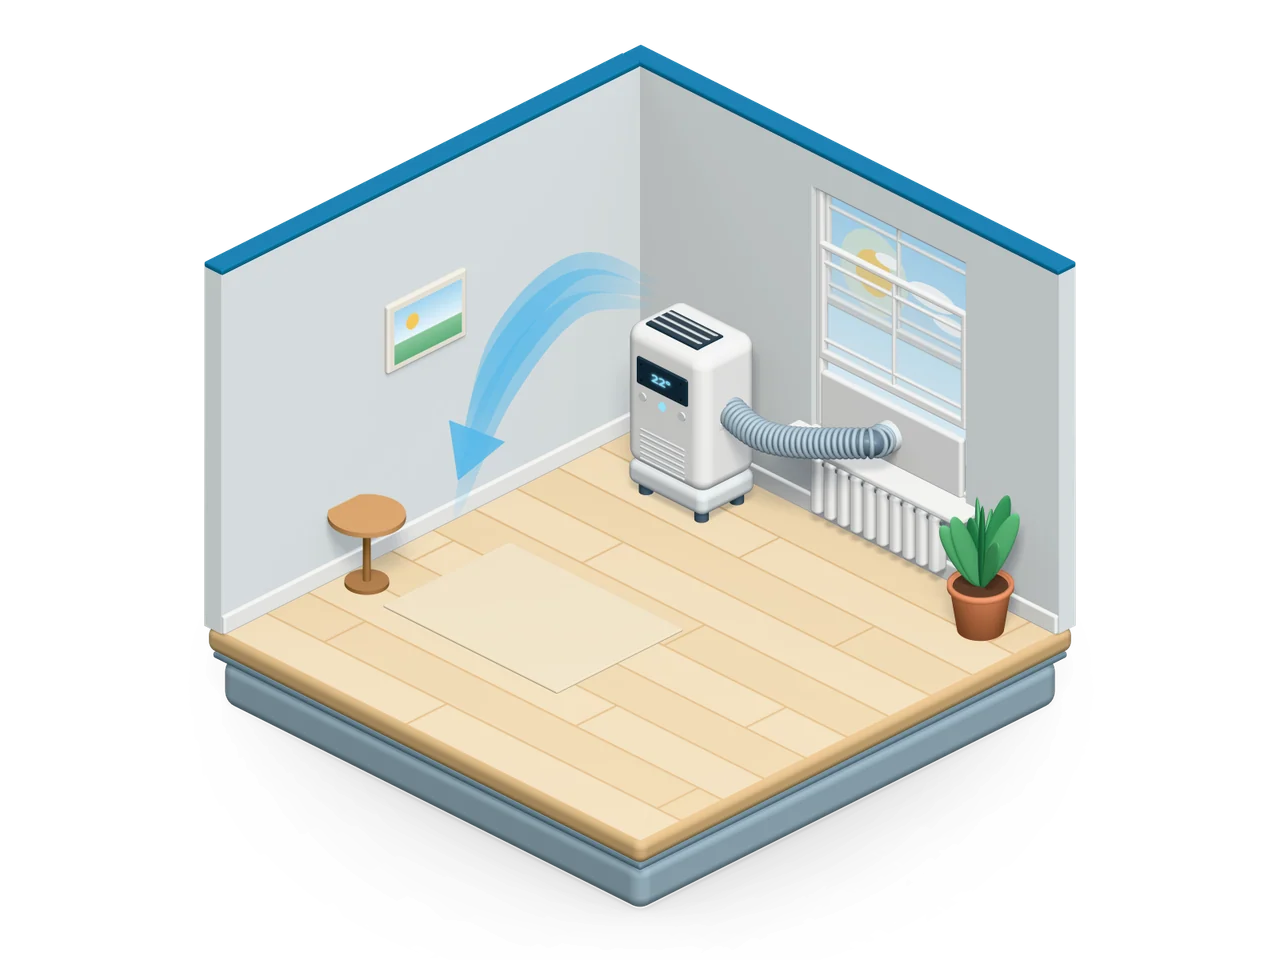
Standard window kits slide sideways and expand to fit the width of an opening. A sash window opens vertically, so the opening is a wide, low strip above the sill and a standard kit leaves gaps at both ends. There are two problems.
- Leaks. Hot air from outside re-enters through the gaps, and cooled room air escapes. The unit works harder for less cooling.
- The meeting rail. When you raise the lower sash, the gap between the two sashes where they overlap lets air through as well.
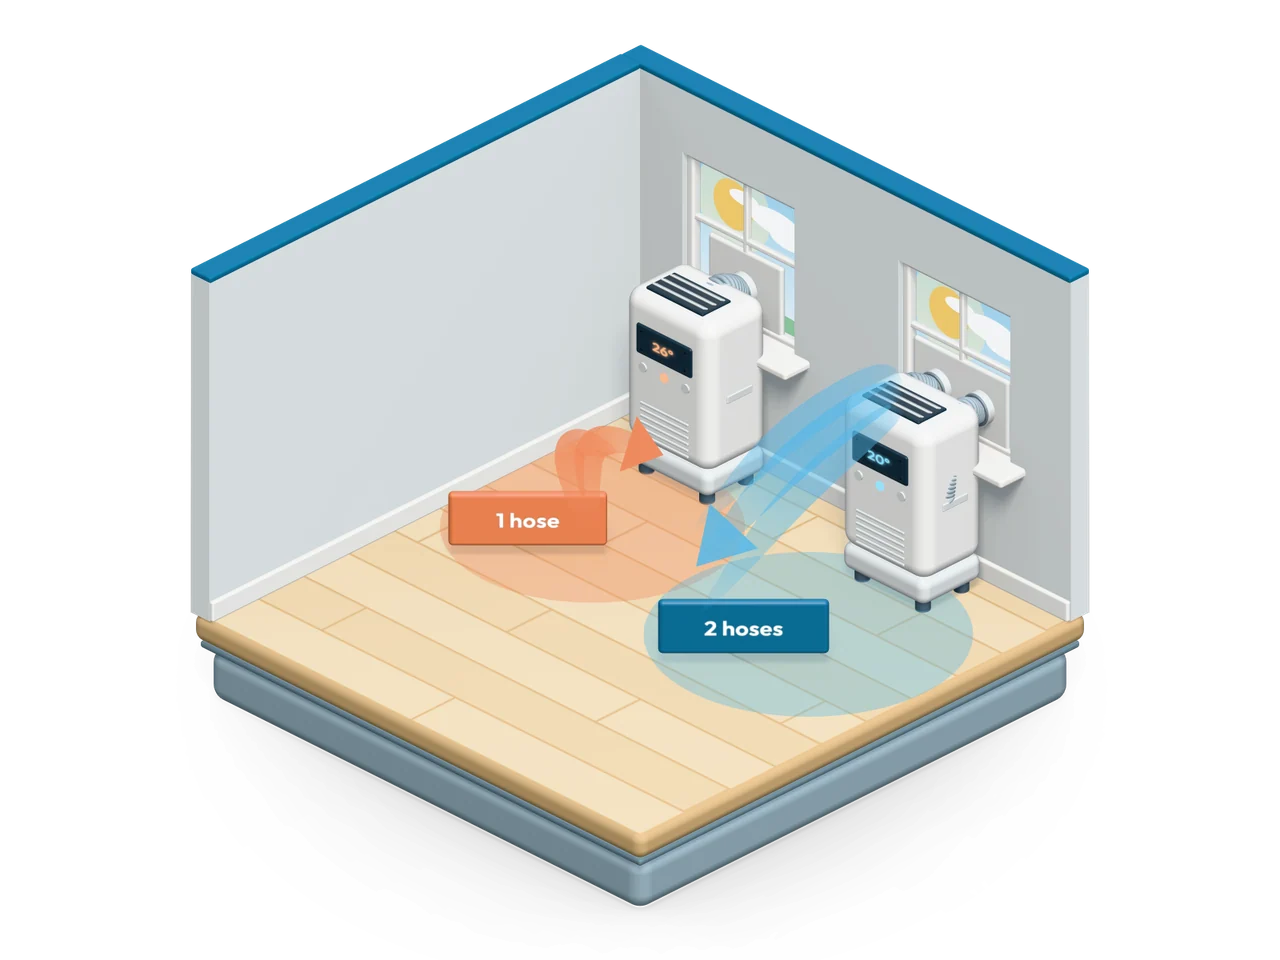
Single-hose units make this worse because they pull replacement air in. Read single vs dual hose to see why.
Four ways to seal a sash window
| Option | Cost | Seal | Best for |
|---|---|---|---|
| Fabric zip kit | £15 to £20 | Fair; fabric can sag | Quick, removable fix |
| DIY foam board panel | About £10 | Very good | Whole-summer use on a budget |
| Acrylic or Perspex panel | £20 to £150 | Excellent | Looks tidy and lets light in |
| Made-to-measure sash kit | £80 to £150 | Excellent | Long-term use across seasons |
Fabric kits are the quickest, but adhesive can lose grip in heat. A rigid panel is the best value: it seals reliably, insulates and can be reused each summer.
Build a rigid panel step by step
- Raise the sash. Lift the lower sash high enough to pass the hose coupling, usually 15 to 20 cm. Measure the width between the side beads and the height of the gap above the sill.
- Cut the panel. Cut rigid foam board, acrylic or plywood about 5 mm smaller in each direction so it slides in, then add foam strip around the edges.
- Mark the hose hole. Hoses are usually 125 to 150 mm across. Trace the hose coupling on the panel, positioned where the hose reaches without bends.
- Cut the hole. Use a hole saw, jigsaw or sharp knife for foam. Test the fit of the coupling.
- Fit and seal. Slide the panel into the gap, tape the edges with foil tape or press in foam strip, and fill the meeting rail gap with foam draught excluder.
- Connect the hose. Attach the hose, switch on the unit and check by hand that no hot air leaks back around the panel.
Keep the window secure
Panels can also be removed from outside if not fixed. Screw a sash stop through the panel edge or use a second dowel above the sash to lock everything in place.
What to look for in a unit
Look for
- A hose-in-hose or dual-hose design, to cut negative-pressure leakage
- A hose of 1.5 m or longer, so the unit can stand clear of the wall
- A weight you can move on your own: most are 20 to 30 kg
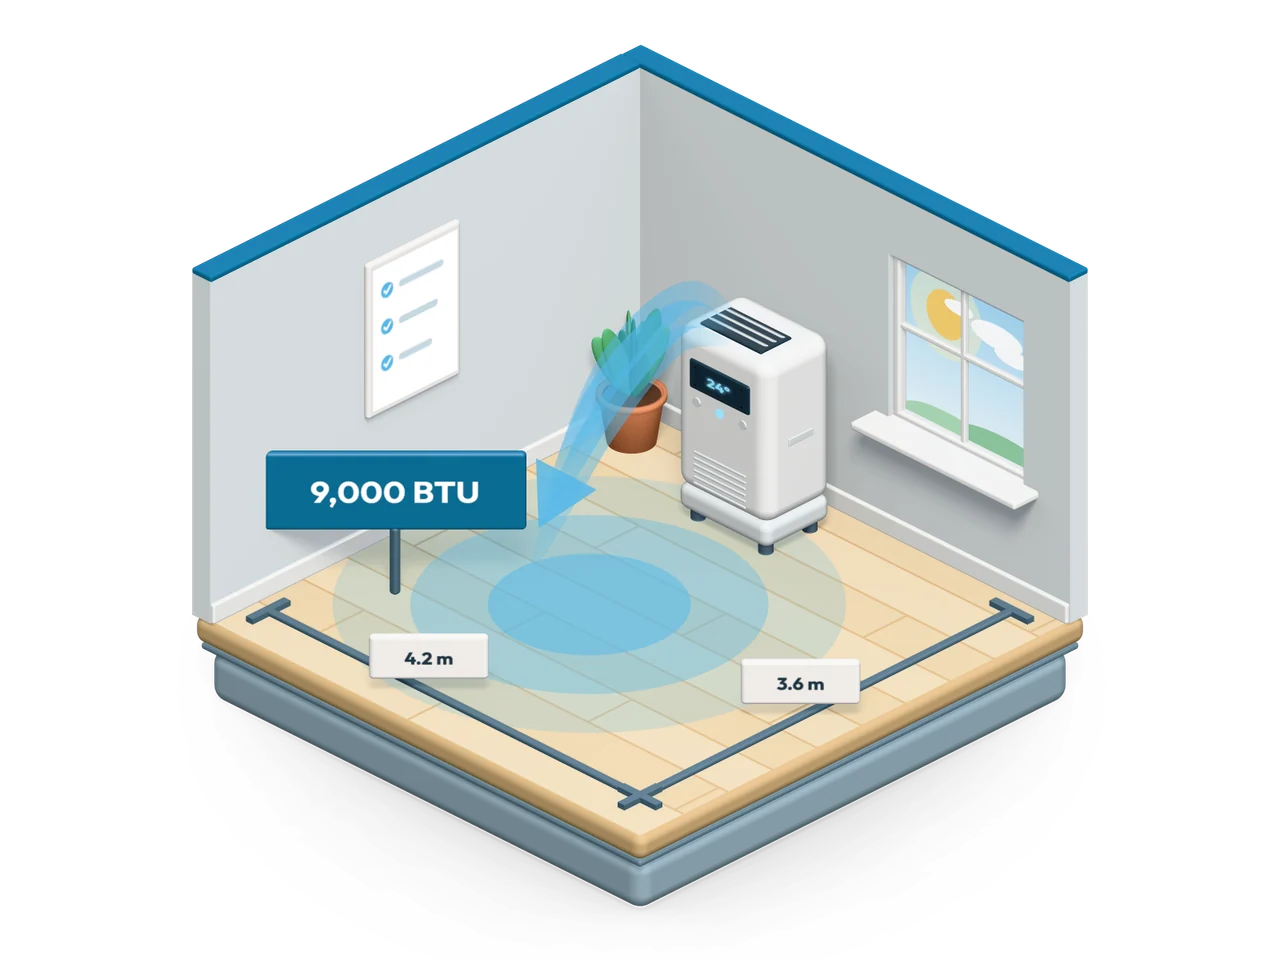
- A rating plate you can compare to your room with the BTU calculator
Be careful of
- A kit that only fits horizontal sliding windows
- Oversized units that cycle on and off in a small room
- Very short hoses that force tight bends and choke the airflow
- Fabric seals on a window that you cannot see or check
Browse the best portable air conditioners or compare models for capacity, noise and price. For full set-up instructions, read how to install a portable air conditioner.
Listed buildings and rented homes
A removable panel that rests in the opening and is not fixed to the window frame is a very different thing from a permanent alteration. Even so, if the building is listed or in a conservation area, or if you rent, check with your landlord or local conservation officer before fitting anything that screws into the frame.
Found this useful? Pass it on.